
The UPS
The DC source I picked is the PYB10-Q24-S12-U DC-DC converter. It has wide input range (9-36V), ideal for a lead-acid battery, or any number of UPS's, and has a sufficient current output (833mA) at 12V to supply both boards. On top offigure that, it has 1.5kV isolation between input and output, which I wanted to isolate the boards as completely as possible from the UPS and PC interface (since the boardsalarms arehave stillbatteries, techinicallyand tiedmy whole home automation system that I made these alarms report to the mains via the neutral wire, even if the live wire is notalso present).
Toa powerconventional thecomputer boards,UPS, andI PCdecided interface,this system also needs a battery backup. I chose a no-name generic 18650 Lithium cell UPS:
[Pic of UPS from ebay here]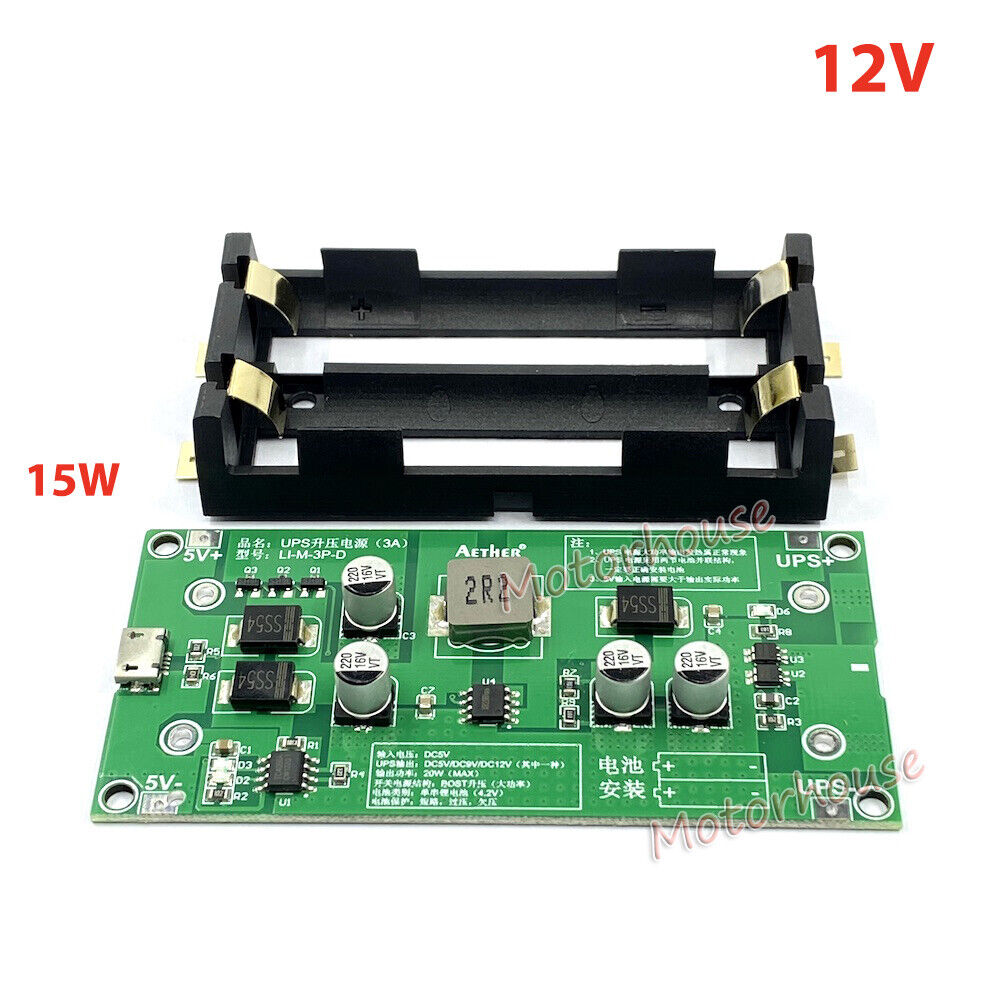
You can find them all over eBay and the like: It can be charged from a 5V/2A USB power supply, which I have far too many of already, and outputs a steady 12V at 1.2A (max). Simply install your preferred brand and capacity of 18650 cell and off it goes. I installed this UPS into an AC outlet box with a blank cover plate, and added a panel mounted USB type B inputport for charging, and two DC barrel jacks in parallel for 12V output power. All this barely fit in by putting the UPS board in at an angle. Note also that I had to solder the battery holder onto the board, the UPS came in 2 halves like in the picture above.
[pics of UPS box]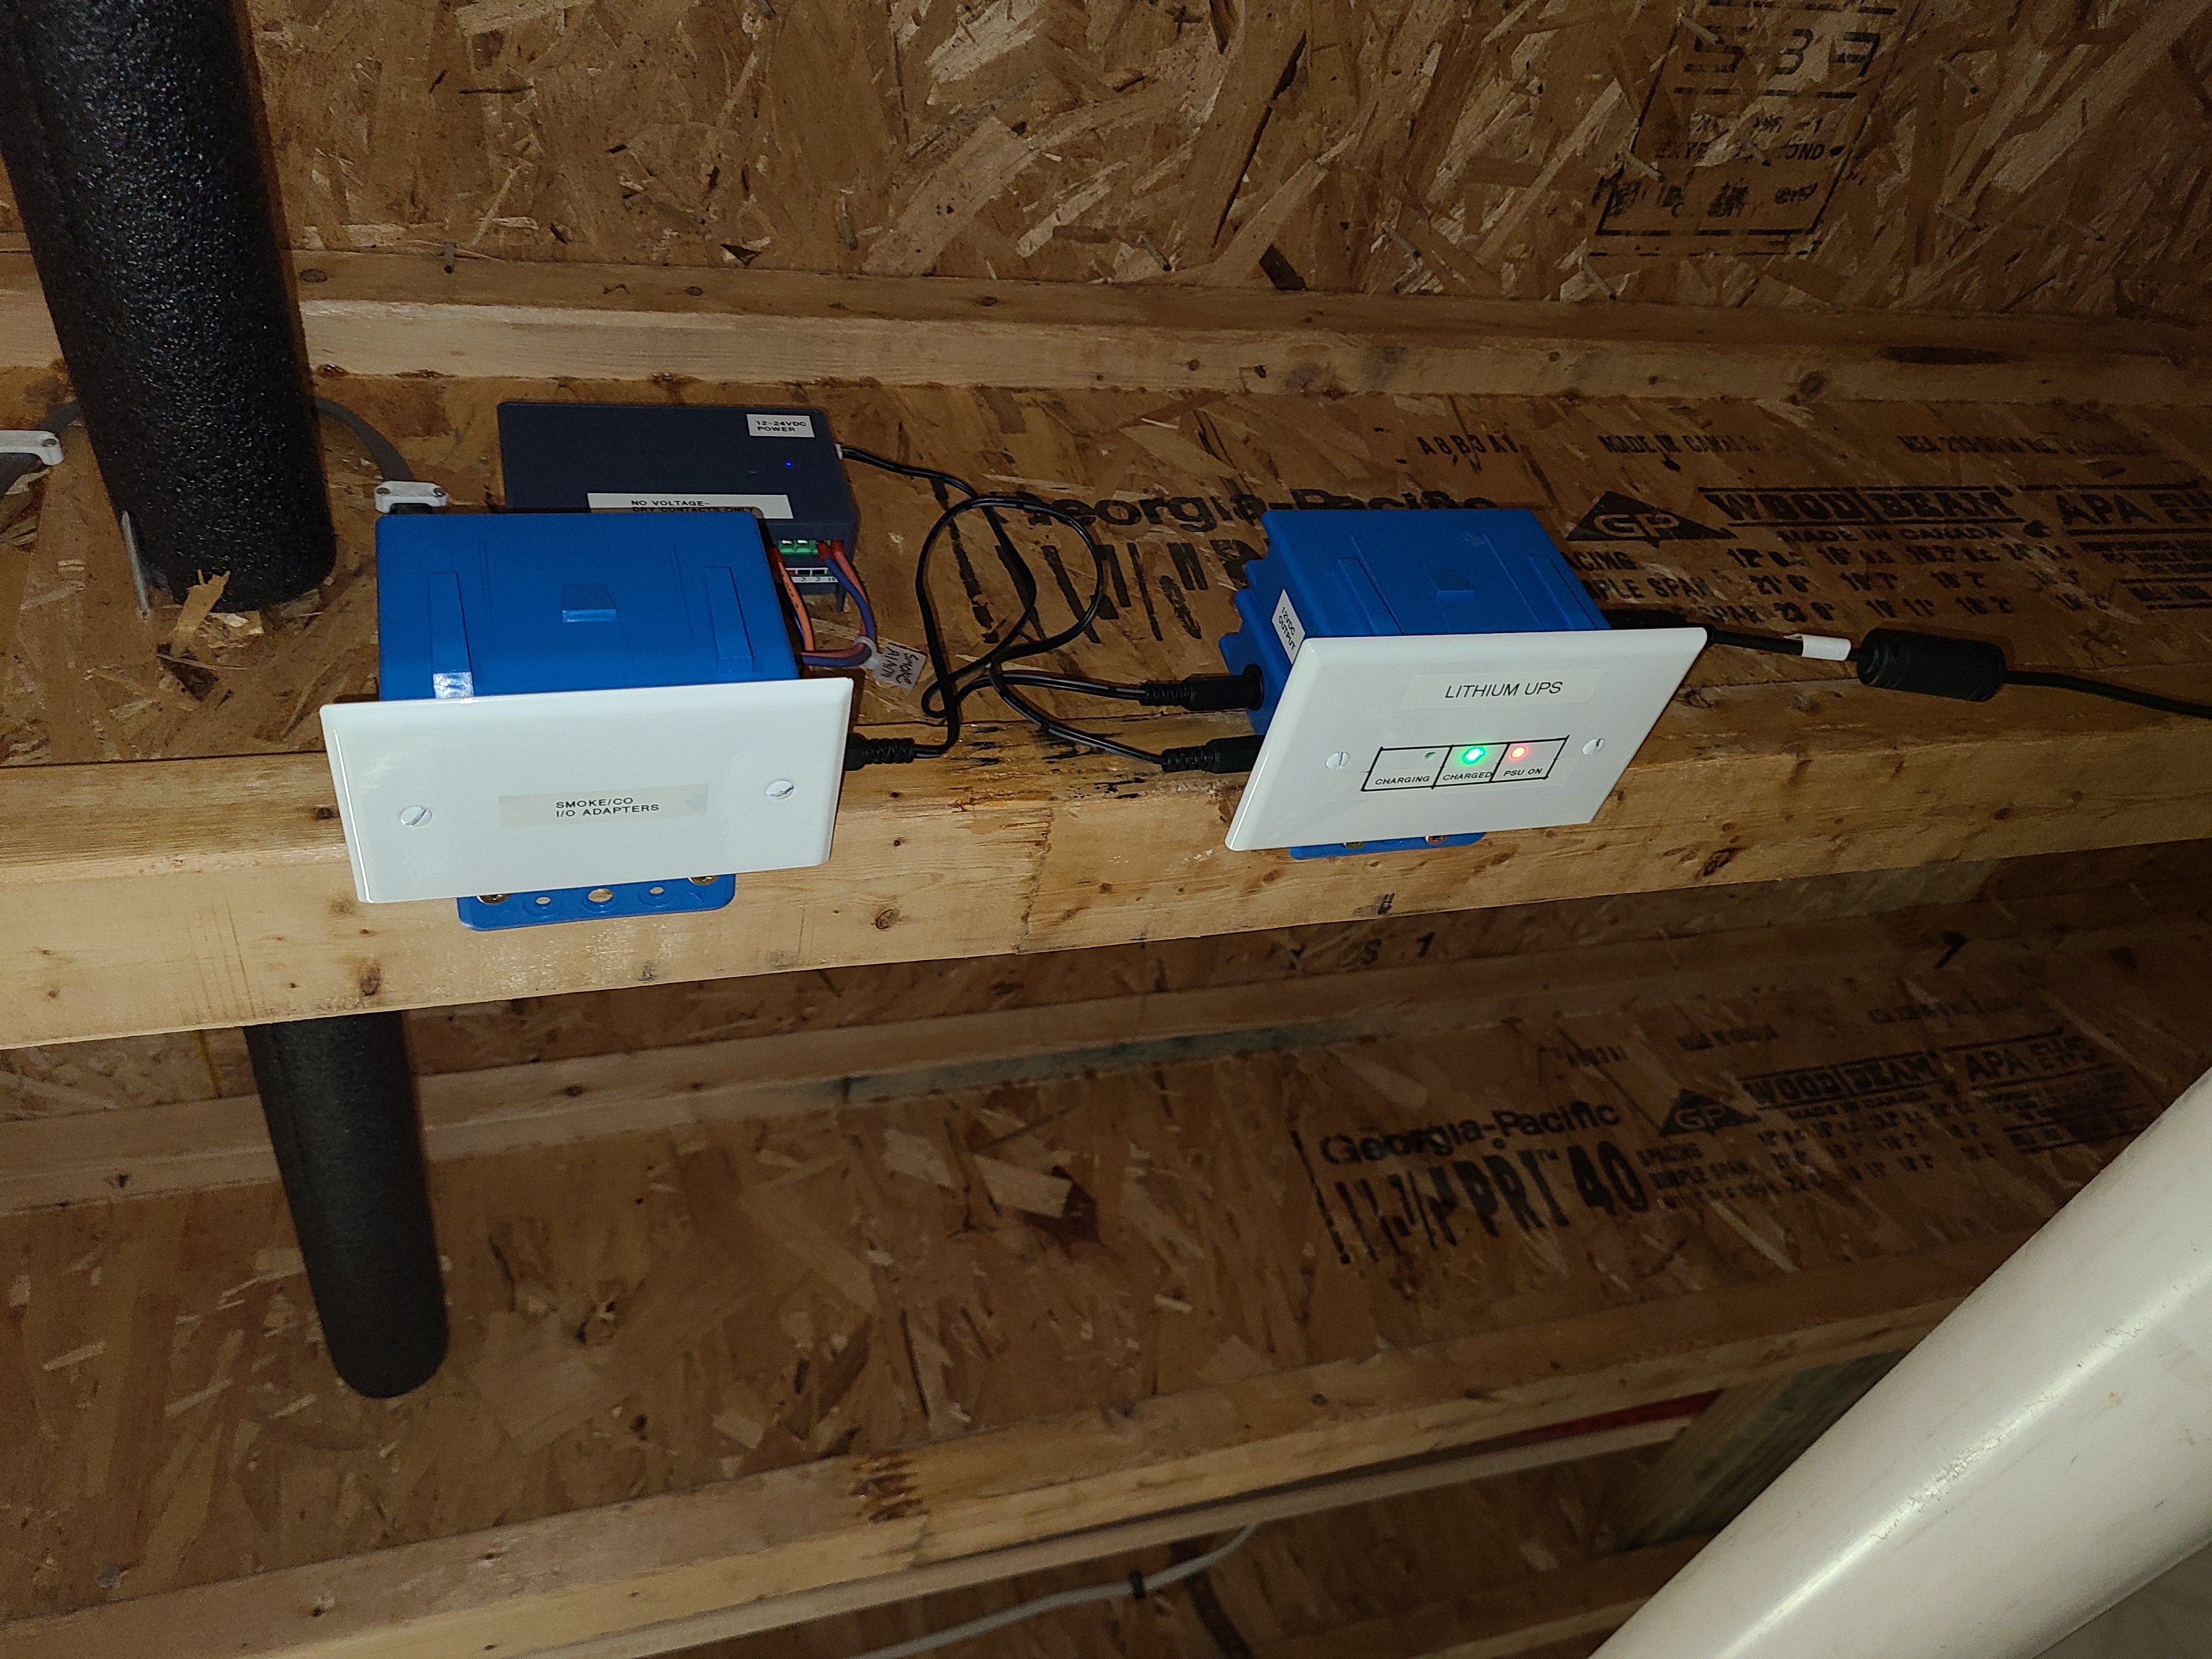
I also desoldered the 3 indicator SMD LED's on the board (red on/off, red charging, green fully charged), and added flying-lead LED's, which I then glued to the blank plate where I had drilled 3 holes for the lights to shine through.
With this setup, I am able to mount the UPS anywhere in my unfinished basement, in this case next to the basement alarm, and run the whole setup from an easily replaceable USB power brick.
[pics of long USB cable and power brick]